In this tutorial you will learn how to hide a node or switch between visible nodes. The x3d standard defines a Switch node that belong to the grouping nodes. While a Switch node may have arbitrary many children, not more than one is displayed at the same time.
The Switch node has an attribute whichChoice to choose the currently visible node (which may contain other nodes as well). The nodes are identified by ascending numbers starting at 0. If the special value -1 is chosen, no child is visible.
Switch can be used to easily exchange the content of a scene or to hide some nodes. Values are passed via ROUTEs to the children, even when they are not visible, to keep the whole scene synchronous.
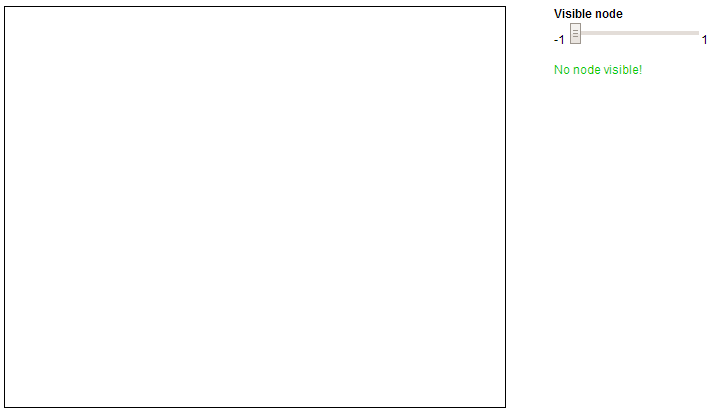
We will now create a simple example containing to different balls and a slider to select which one to display. You first need a scene and two shapes. Surround each of the shapes with a transform tag to move them to different positions. If you don't know how to initialize a scene please take a look at the basic tutorials first. These to shapes should be located inside a Switch node. Since the default value for whichChoice is -1, no shape should be visible now.
<x3d width='500px' height='400px'>
<scene>
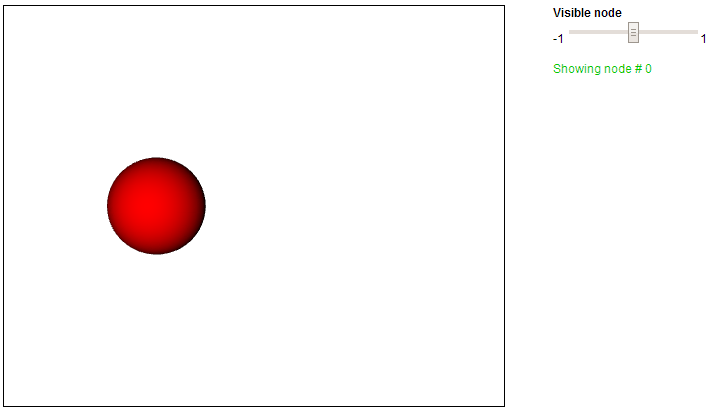
<Switch whichChoice="0" id="switcher">
<transform DEF="ball" translation='-2 0 0'>
<shape>
<appearance>
<material diffuseColor='1 0 0'></material>
</appearance>
<sphere></sphere>
</shape>
</transform>
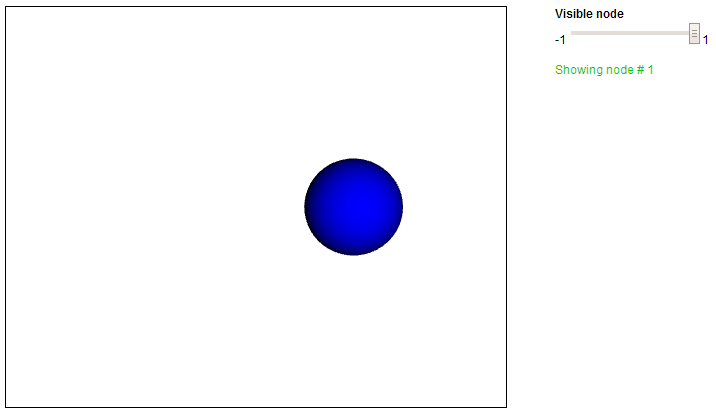
<transform DEF="ball" translation='2 0 0'>
<shape>
<appearance>
<material diffuseColor='0 0 1'></material>
</appearance>
<sphere></sphere>
</shape>
</transform>
</Switch>
</scene>
</x3d>
<input type="range" id="sliderShadowIntesity" min="-1" max="1" step="1" value="0" onchange="changeVisibleNode(this.value)">
With a simple dom operation, the value of the slider is passed to the Switch node.
	/**
	 * Change the selected object of the swichting node
	 *
	 * @param nodeId number: New node id to set (starting from 0, or -1 to hide all of them)
	 */
	function changeVisibleNode(nodeId)
	{
	    document.getElementById("switcher").setAttribute("whichChoice", nodeId);
	}
Your switching example should now work and you can modify and extend it as you want. Of course you can also use ROUTEs to directly pass values to the Switch node without DOM manipulations.
 Display example HTML file
 Download full example (.zip archive)